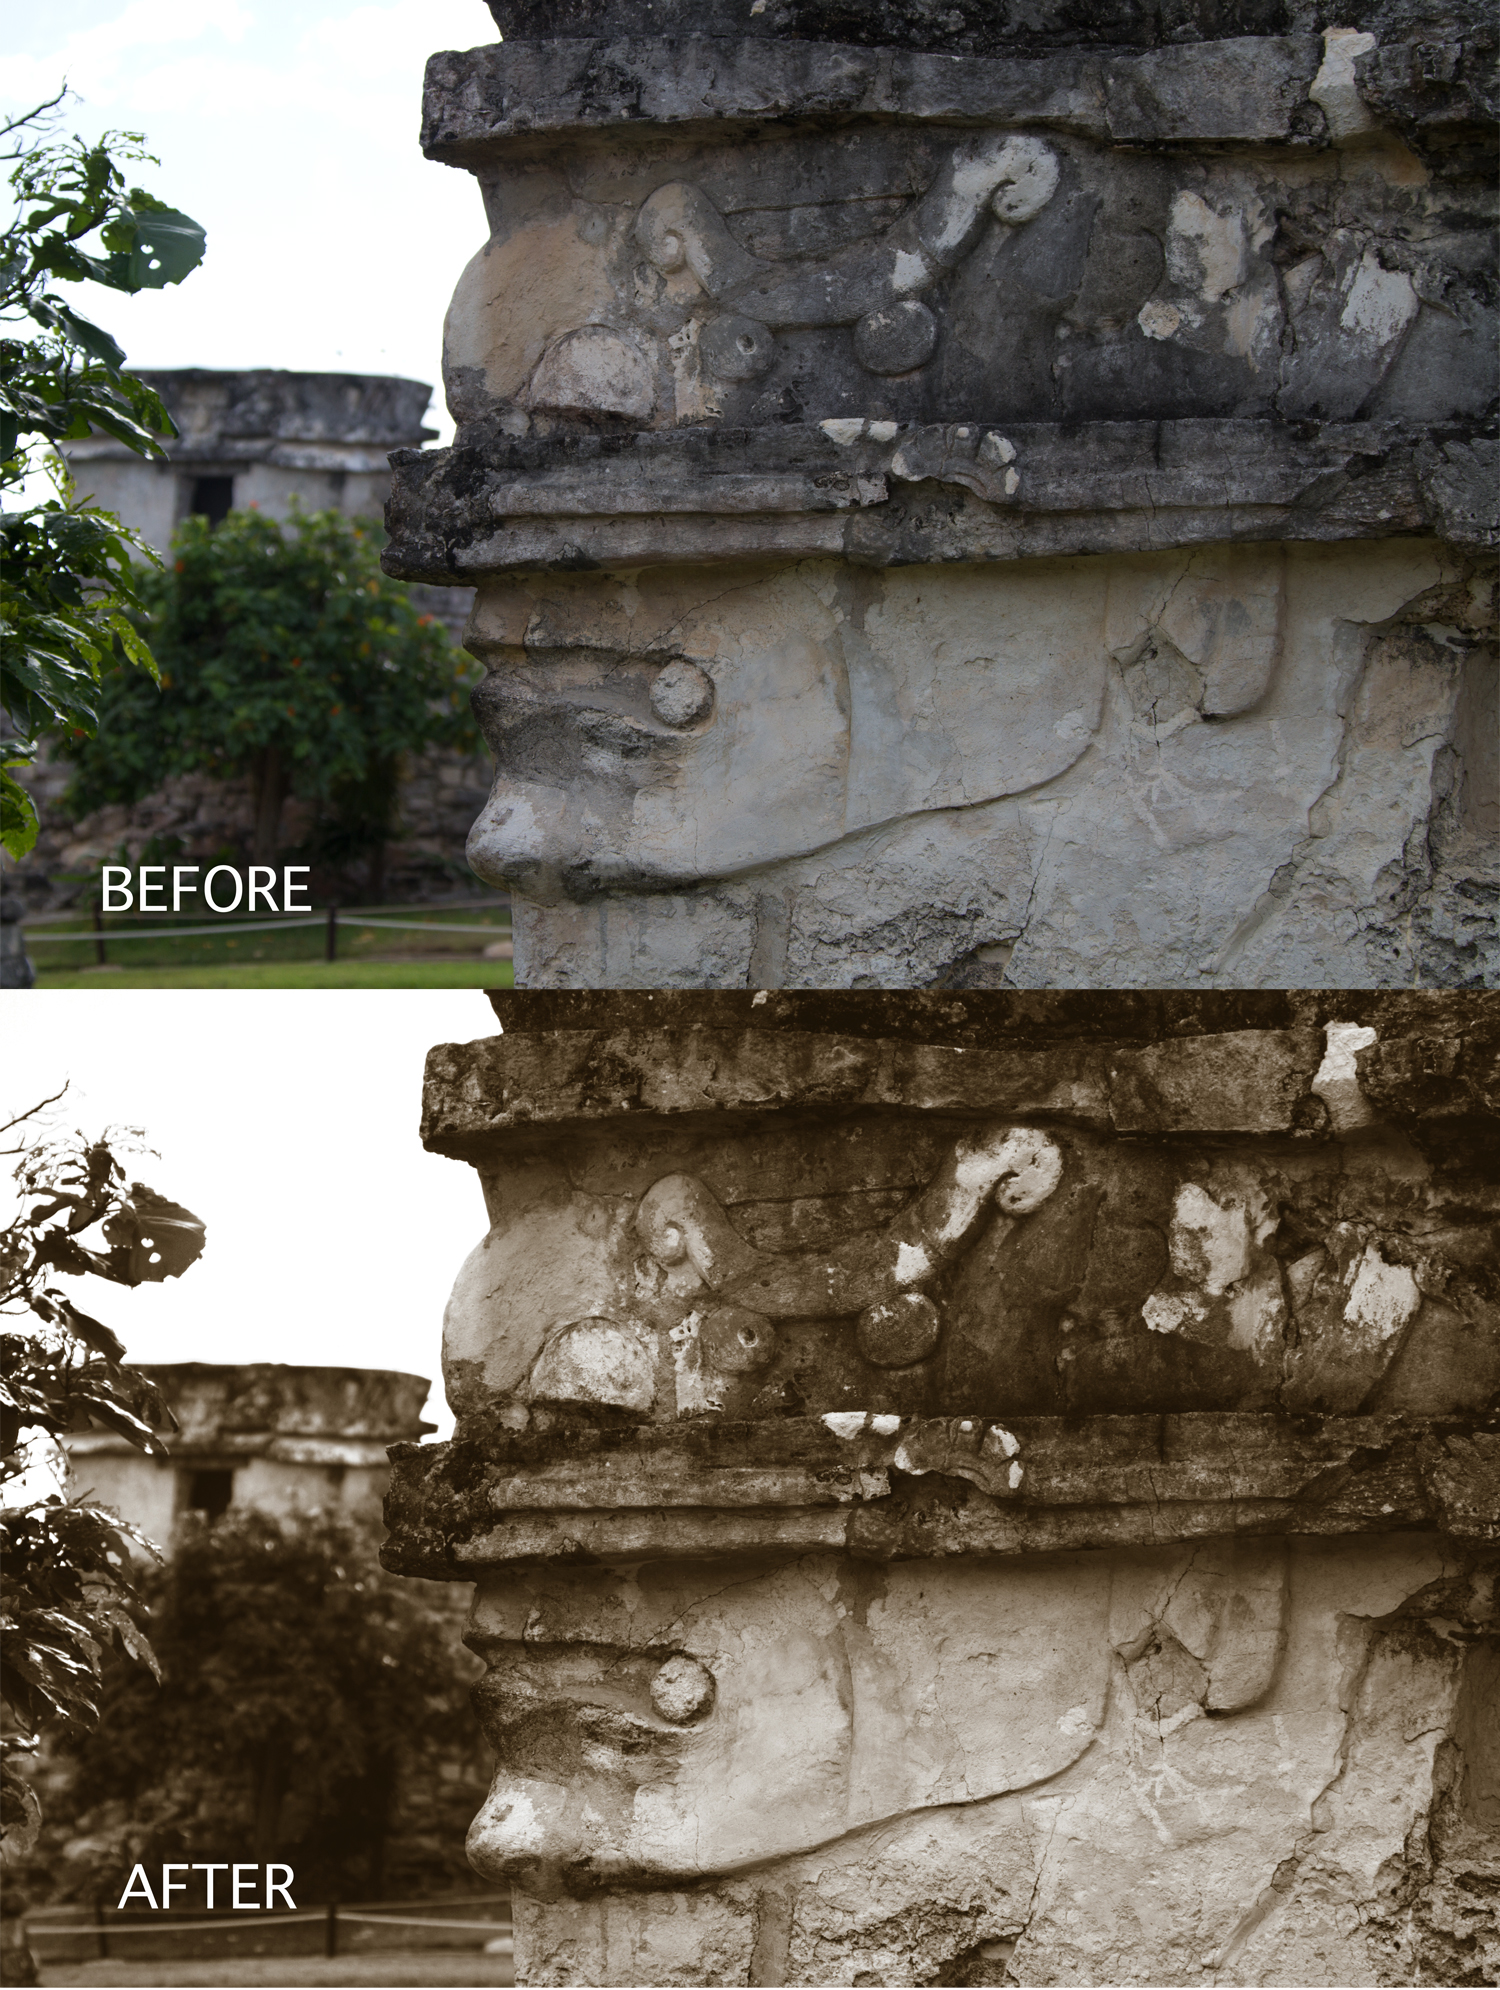
Sepia toned images appeal to a variety of people. They have become popular enough to earn their own preset in Adobe Photoshop Lightroom, where with one simple click on the mouse, the tone is rendered. This tutorial is for those who don’t have Lightroom or Photoshop and wish, instead, to use the freely available GIMP photo editing program. You can click on most any image in this post to see the full screen image.
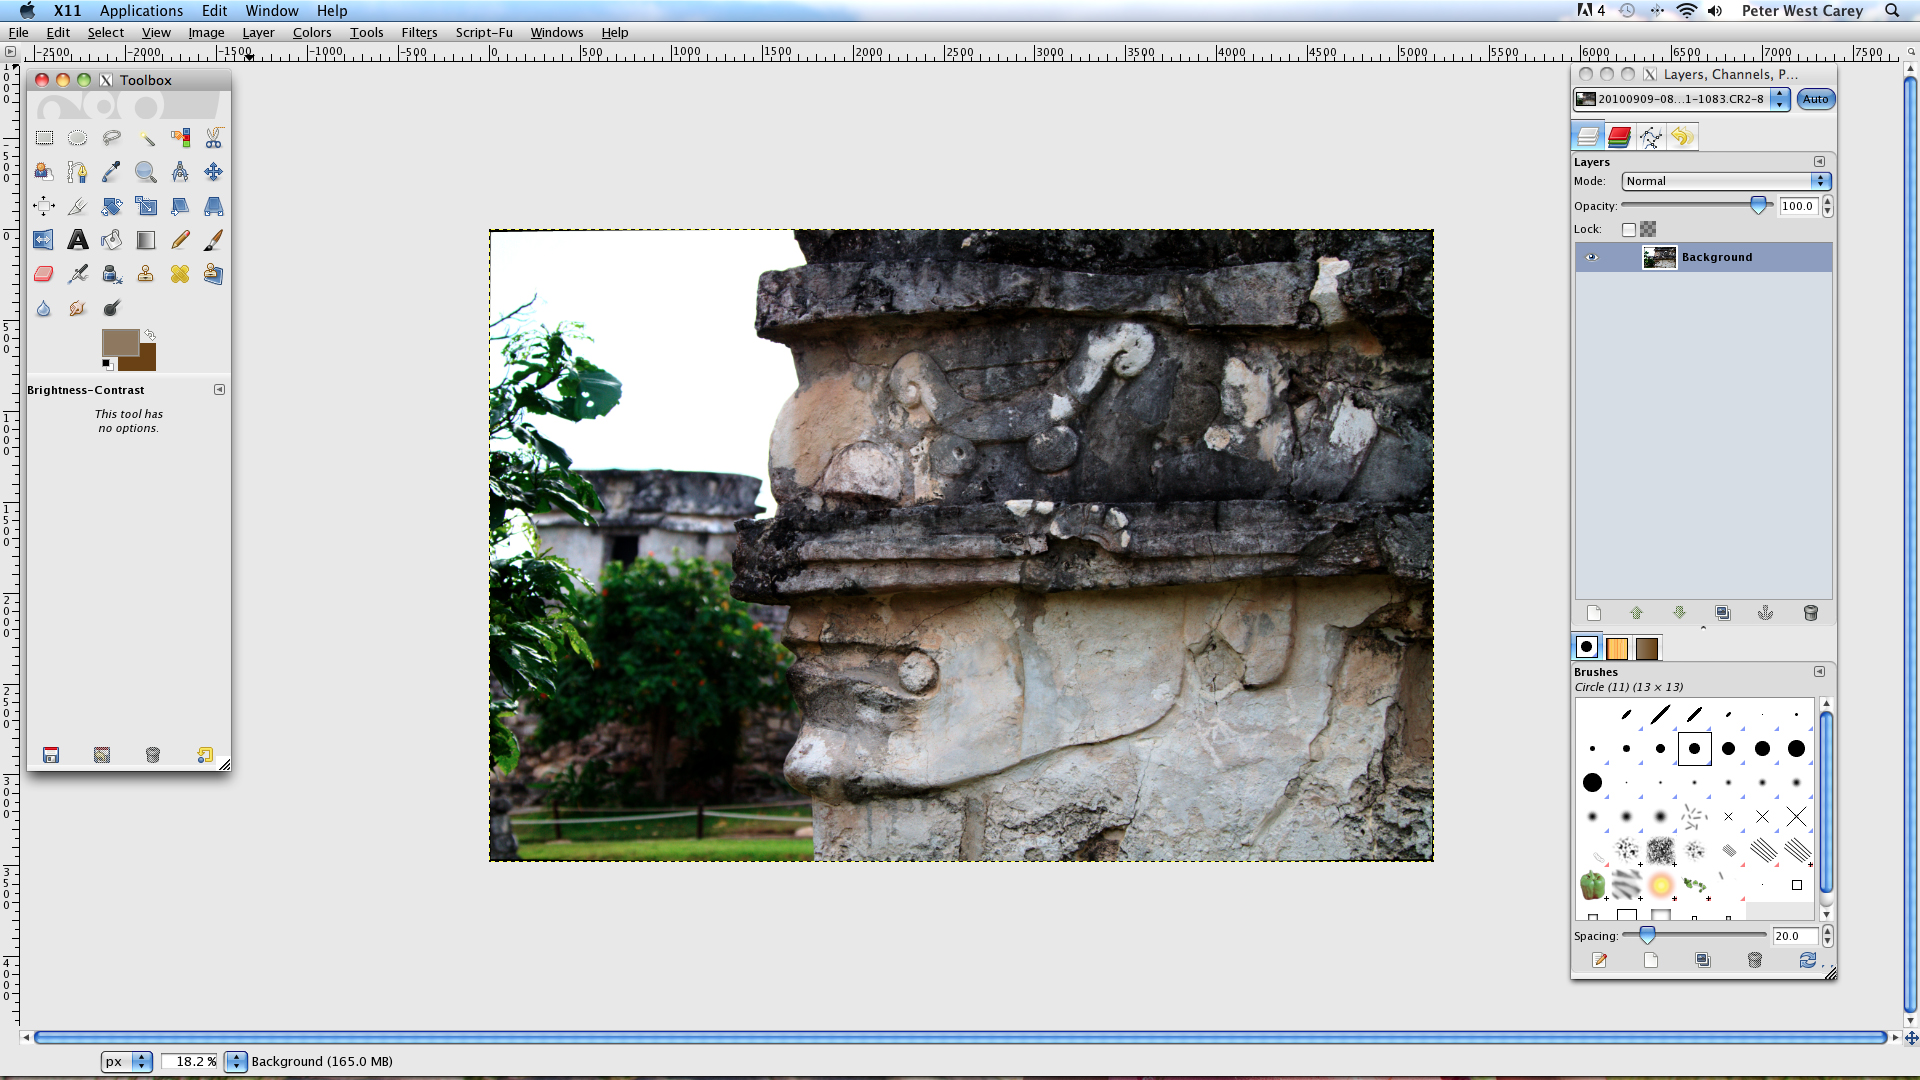
Starting at the start, open up an image in GIMP. If you are opening a RAW file and using a MAC, GIMP 2.6 has the UFRaw converter built into the standard install package. For Windows users, there are instructions here on DPS to help. And for the Unix crowd, check out UFRaw’s download page for the appropriate package. If you are using a JPG, you can skip all that and open the photo directly. I’m using an image from the Mayan ruins at Tulum along Mexico’s Riviera Maya.
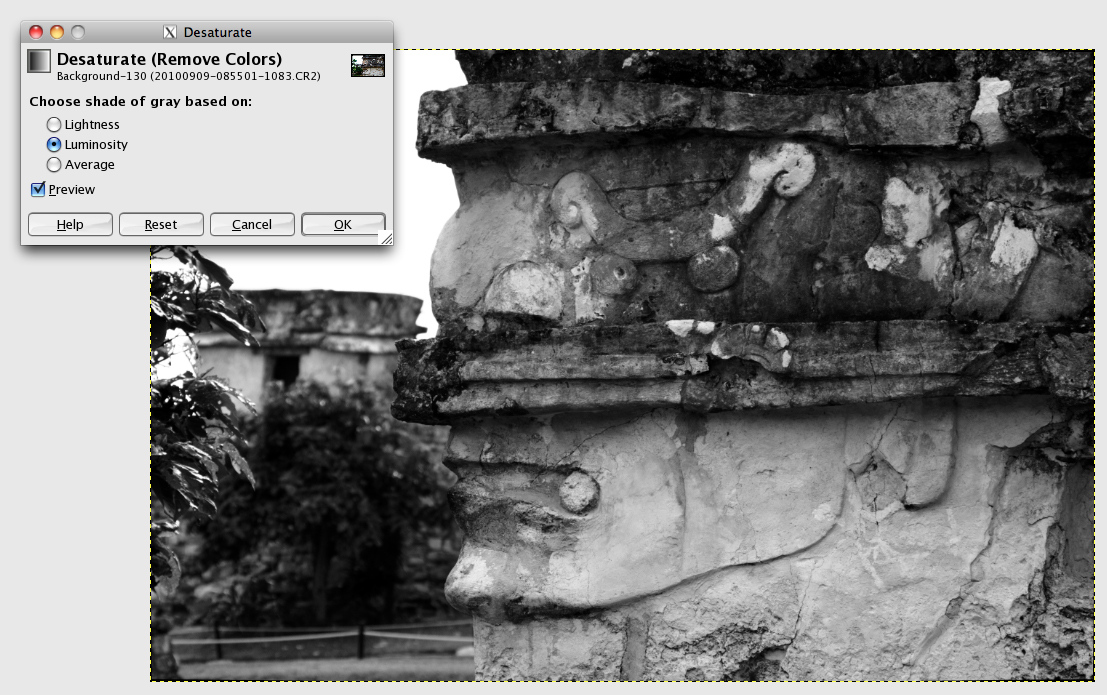
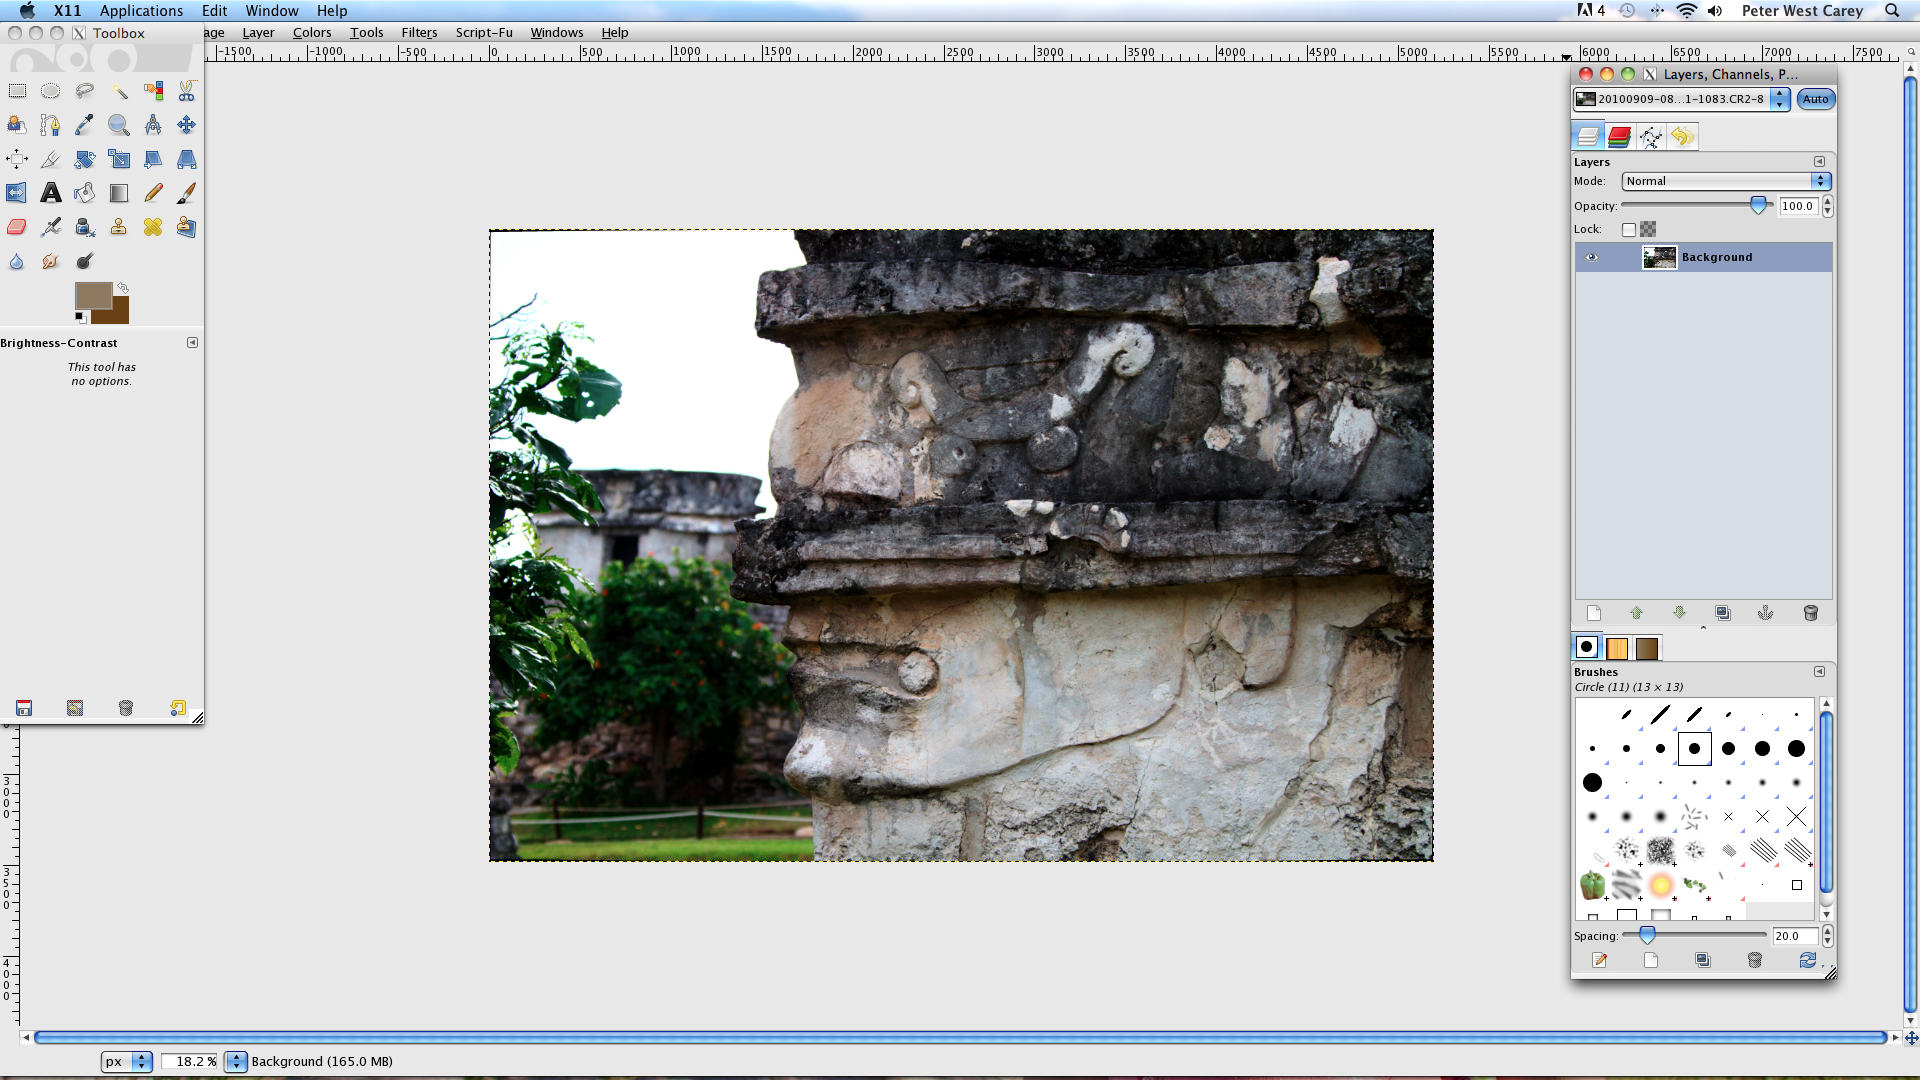
Next, click the Colors menu item and Desaturate. In the next screen, choose Luminosity and click OK.

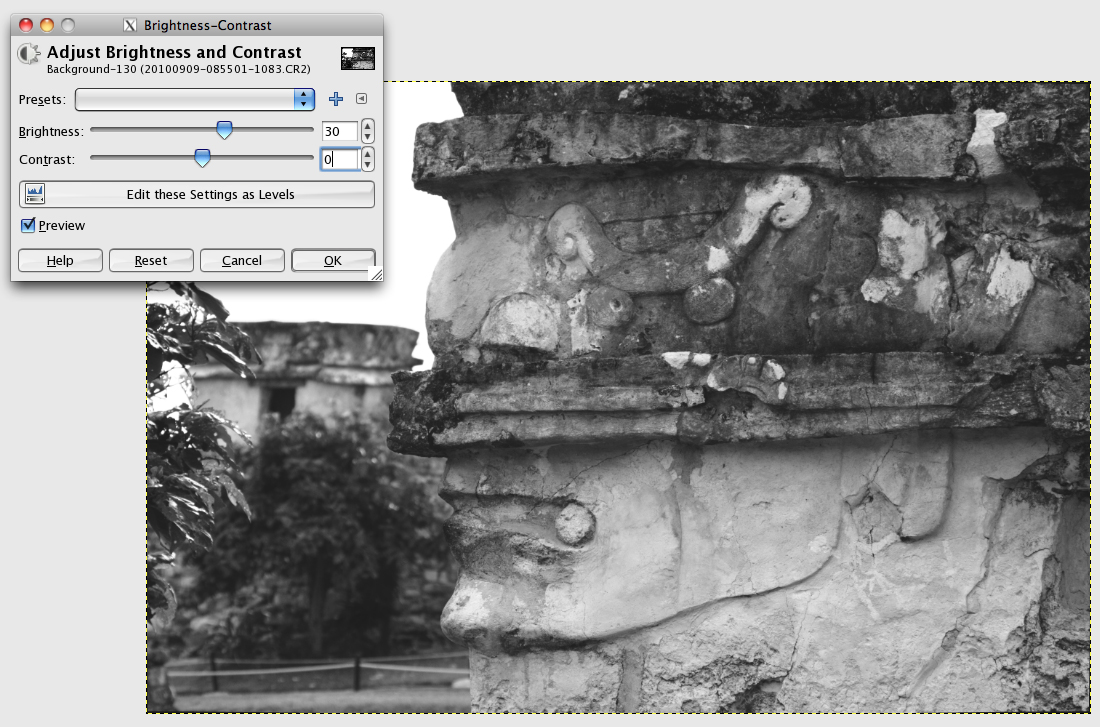
Click Colors again and then Brightness-Contrast. Set the Brightness to +30.

Duplicate the Background layer by either clicking Layers-Duplicate Layer in the menu, right clicking on the layer in the Layers Palette and clicking Duplicate Layer or by keyboard shortcuts specific to your operating system.

Double-click on the foreground color swatch in the Toolbar (in this case, black).

In the Change Foreground Color screen that appears, enter 6b420c in the “HTML notation” box. This equates to settings of Red: 107 Green: 66 Blue: 12. Then click OK.

Click the Layers item in the menu bar and New Layer.

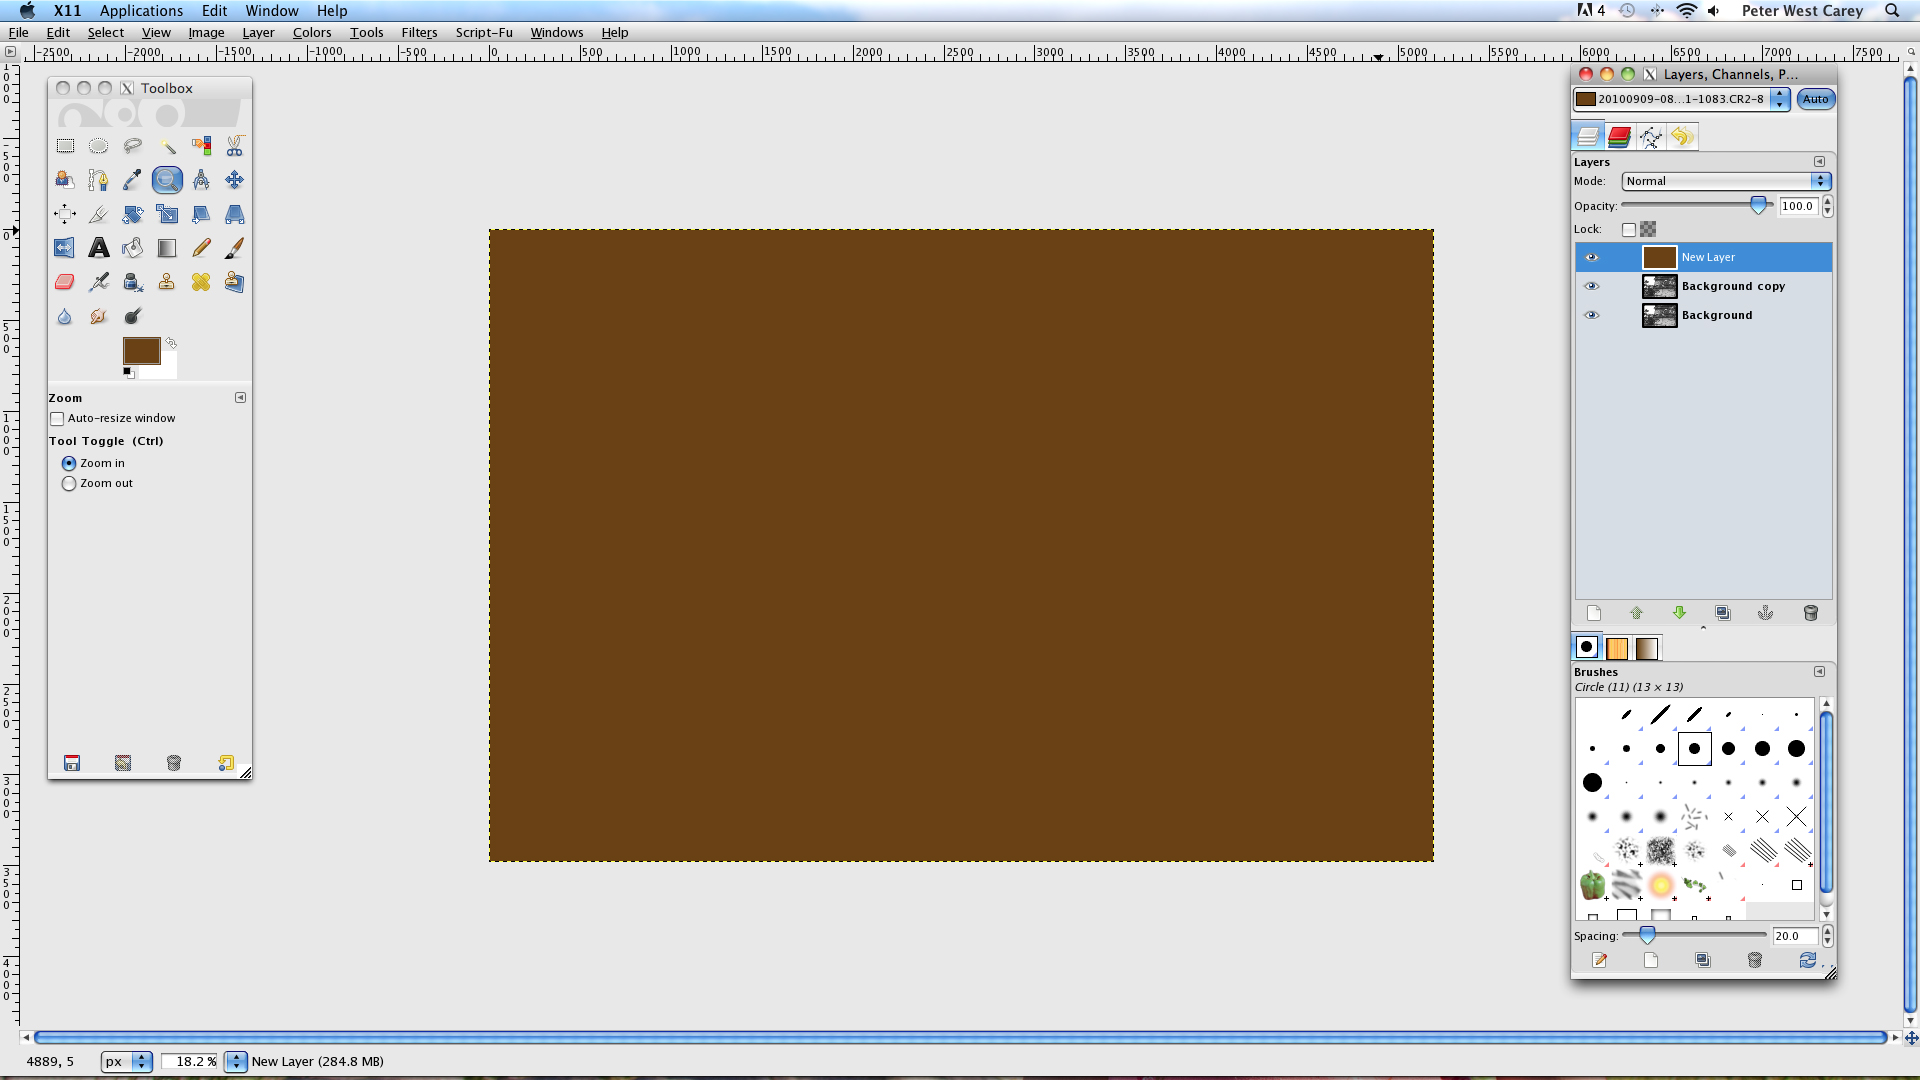
In the next box, choose the Foreground Color as the Layer Fill Type and click OK.

Your Layers Palette will now look like this
In the Layers Palette, click the top Mode: drop down and select Overlay.

Then click Layers from the Menu and Merge Down.

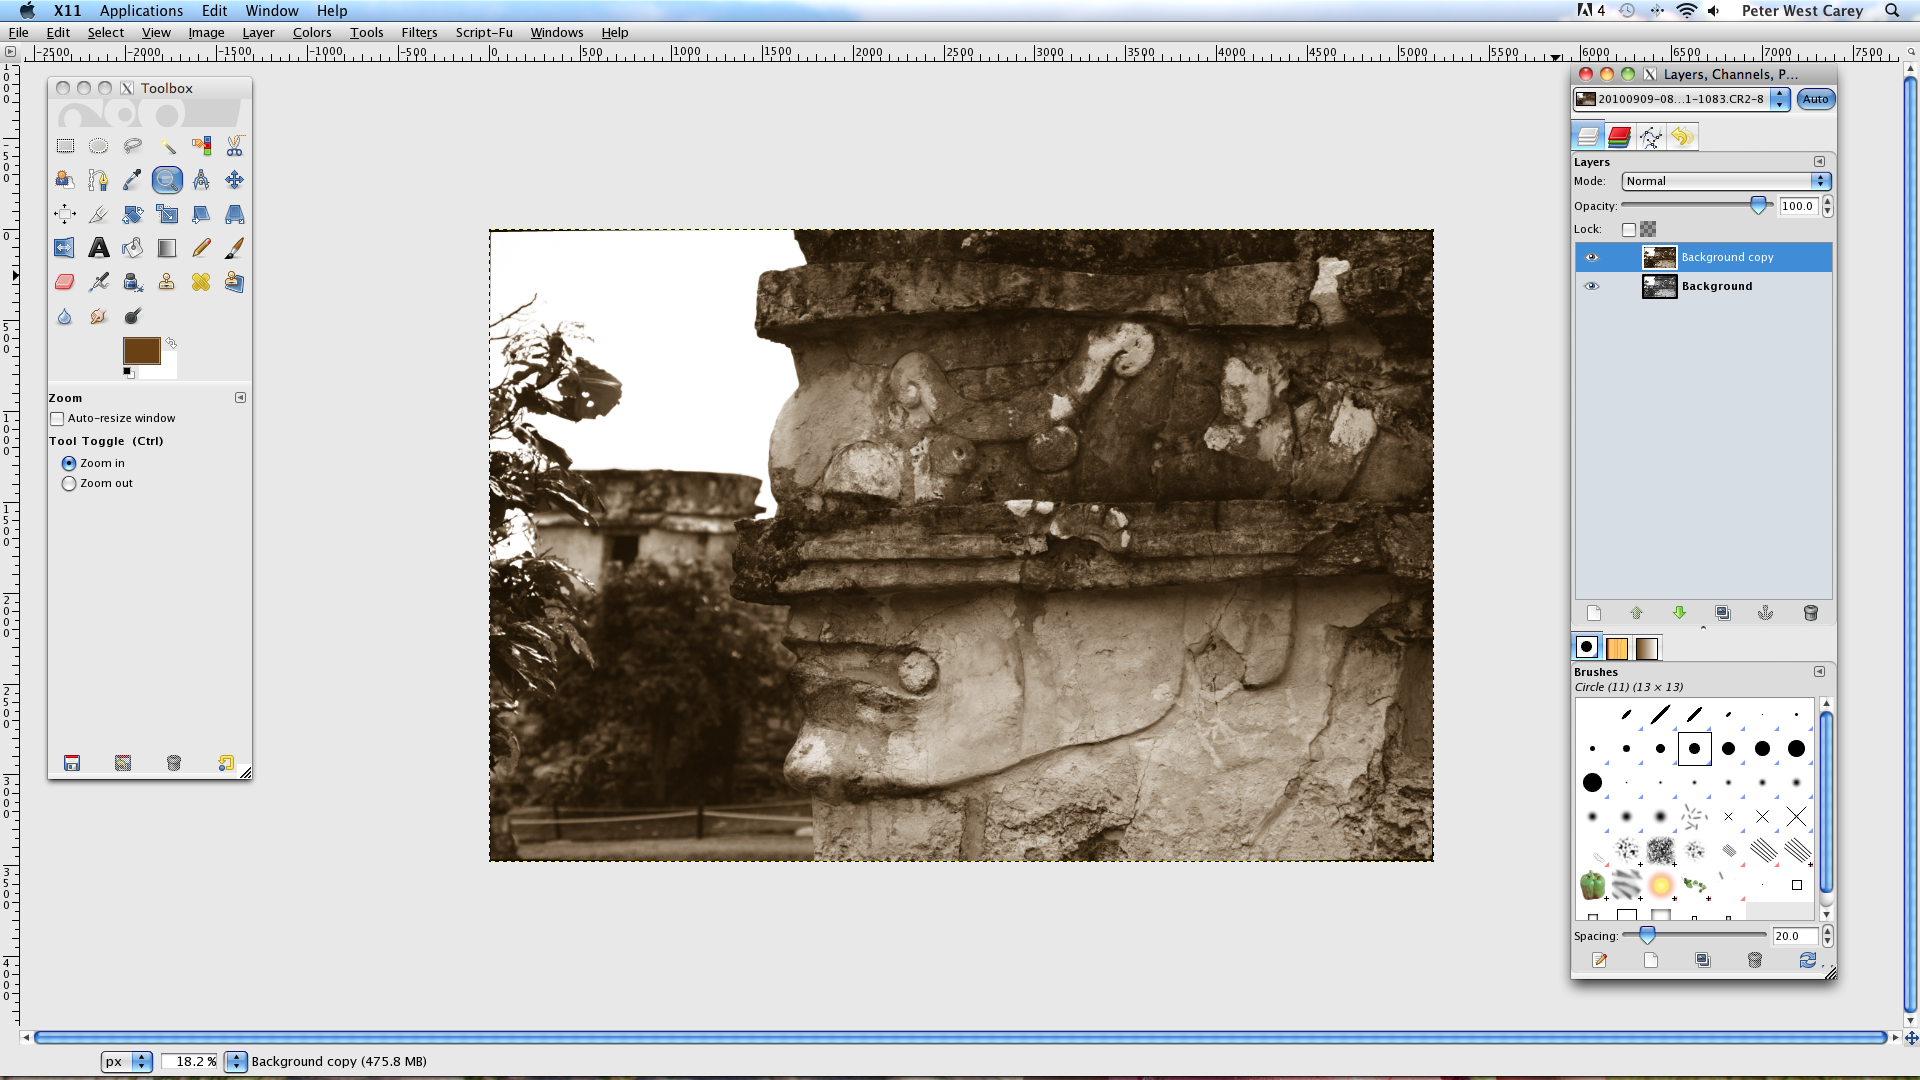
Click on the Layers menu item, then Mask and Add Layer Mask.

On the next screen, choose “Grayscale copy of layer”, check the box for “Invert mask” and click Add.

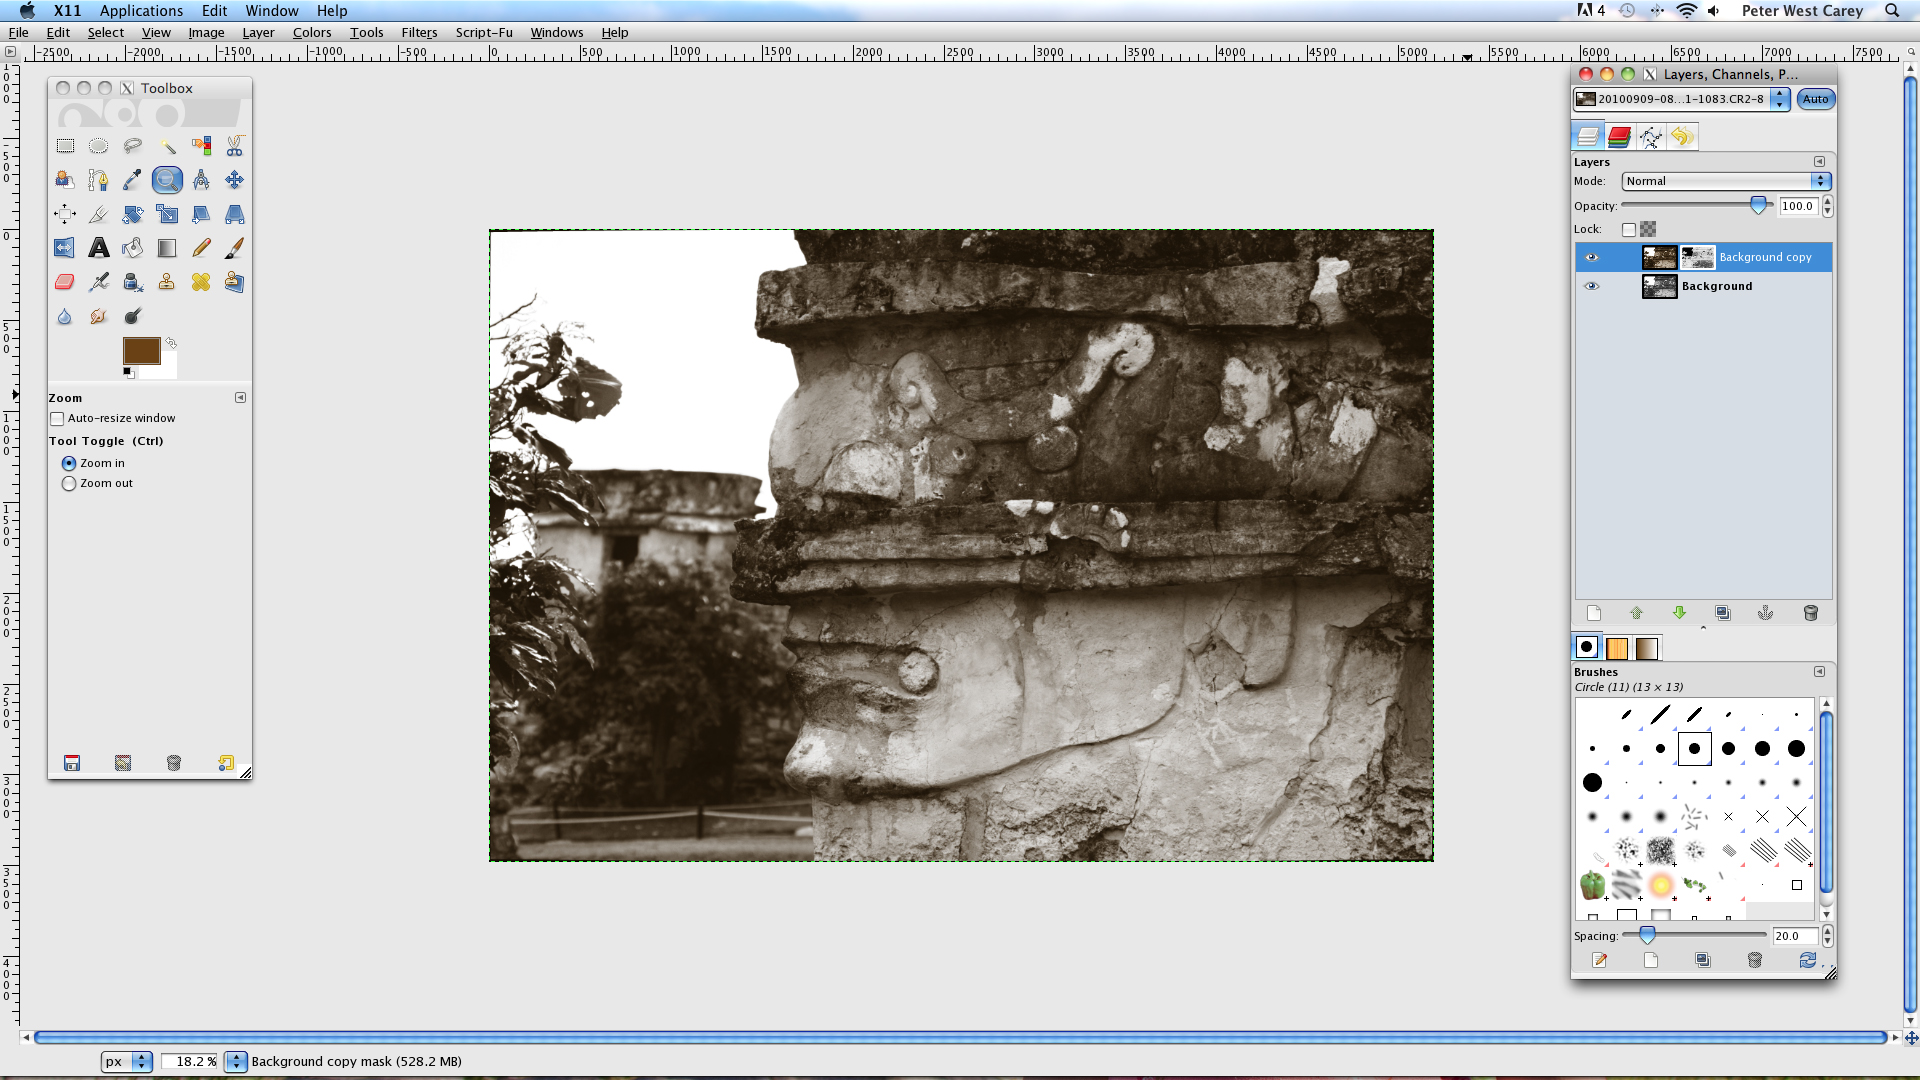
Some will be happy with this rendition of sepia. For me, it is a bit light. If this version works for you, go ahead and merge your layers (in the Layers menu item) and you’re done! If you want a bit more oommph, continue to…
Click the Layer menu item and then Duplicate Layer as in Step 4. This will create a darker sepia tone.

From here the tone can be fine tuned to your liking by adjusting the opacity of the last layer created. Once the fiddling is finished, simply merge the visible layers (right click on the Layers Palette and choose Merge Visible Layers) and the image is done!
During the process of creating this image, you will find ways to tweak and fine tune the coloring to your liking. Certainly other slight shades of brown can be used and I encourage you to find your own settings.
I hope this tutorial has given you an easy tool to create sepia tone images to your liking!
No comments:
Post a Comment